Wednesday, August 13, 2014

Ilse's Tomato Soup

Ingredients

7 medium tomatoes
1/2 onion
1 tsp chopped garlic
1/2 Tbsp butter
1Tbsp evoo (extra virgin olive oil)
1/2 tsp basil
salt & freshly ground pepper
cayenne pepper - optional
Chives for garnish


Method


Remove the core at the top of the tomato and cut an X on the bottom. Boil enough water to almost cover the tomatoes and put them into the boiling water on their bottoms. Let them boil for about five minutes or until the skin loosens. Turn them onto their tops half way through the heating. Remove to a plate and let cool for a few minutes. Working from the bottom pull the skin at the X away from the tomatoes in four places.


Turn the tomato onto its bottom and pull the skin all the way from the tomato. Discard the skin and you’re finished! Now cut the tomatoes into quarters, remove the seeds and cut the tomatoes into one inch cubes. You will want to do this on a large plate so that you don’t lose the liquid. Put a saucepan over low heat while you chop the onion finely. Put the evoo and butter into the heated saucepan, add the onion and sweat it until it’s translucent then add the garlic. As soon as you can smell the garlic add the chopped tomato, its liquid, the basil and salt & pepper. Allow to boil for about thirty minutes until the tomato softens and breaks down.


If you have a stick/immersion blender use it to blend the tomatoes until smooth, otherwise transfer the mixture to a regular blender or a kitchen machine and blend until smooth. Check the seasoning before serving and add some chopped chives. Can be served cold or hot.


Serves at least four


My mashed potatoes


I really like mashed potatoes and detest the texture of pureed potatoes, which is what is usually served as mashed potatoes. To me pureed potatoes taste like glue and lose their potato flavour the more they are processed. I consider them probably best for the sensitive stomachs of babies!

Ingredients
6 small potatoes cut into 1” cubes
2 scallions
a handful of parsley
2 Tbsp soft butter
1/2 a whole nutmeg
Salt & pepper

Method
Wash the potatoes and cut into 1” cubes, put in a saucepan and add water to cover. Bring to a boil over medium to high heat, when the water boils reduce the flame to low. Put a lid at an angle over the pan so that a small vent is made.


While the potatoes are cooking chop the scallions and parsley finely.


Put the parsley and scallion into a bowl. Using a microplane grate the nutmeg into the bowl.


If the butter is hard from the refrigerator cut it into tiny pieces and add to the bowl, otherwise add it as is.


Add salt and pepper to taste. When the potatoes are tender drain them and add to the bowl. Using a fork mash the potatoes and mix them with the scallions, parsley, nutmeg, butter and salt and pepper. I like to keep them chunky, but you can mash them further until they are the texture you prefer. Add more butter, if you like. My mother, who taught me to make mashed potatoes, liked to add an egg. We had a large family so one egg wasn't that noticeable in the large quantity. I don't like to add an egg to this small amount, so I don't use it and have come to prefer my potatoes without it.


Check the seasoning and serve
Serves 3 - 4


Tuesday, August 12, 2014

A Perfect Cup of Coffee

A  Perfect Cup of Coffee


    If you’re a coffee drinker you might like to try making it as I do. It takes longer to prepare than a cup of instant, but I think it’s well worthwhile. As far as I’m concerned the only thing worse than instant is coffee made with one of those machines that heat the water past boiling and produce burned coffee that is unpalatable. After I kept seeing ads for these new fangled machines that make a cup at a time, I decided to try a cup when I was at the vet surgery recently and the coffee was so foul I had to throw it away. It had a horrible, burned, acidic flavour that put me in mind of medicine I’d rather not take.
    Anyway that’s enough of my ranting let me get on with my  method for making my perfect cup. Here’s a picture of what you’ll need:


A coffee grinder: any grinder will work as long as it grinds the beans finely.
A filter cone: you can choose between plastic or china. China is probably better, but I’ve had both and can’t tell the difference, which may be a reflection of my palate.
Paper filters: you can choose between cheap white or unbleached. Some say the flavour is better with the unbleached.
Coffee beans - try to find a company in your area that roasts the beans and uses free trade coffee.
A 1/2 Tbsp measuring spoon
A brush, which you can get for a dime at your local handicraft supplier.
Heavy whipping cream - unless you like black coffee.
A cup and saucer or a mug.
Barely boiling water - water for coffee should be just under boiling or the coffee will taste burned and acidic.

Method:
Put enough coffee beans in the grinder to reach the blades. This will make about two cups of coffee. Grind the beans for a count of 22 seconds.


Set the kettle on to heat while you prepare the coffee.
Put the filter paper into the cone.
Measure two skimmed tablespoons of ground coffee into the filter.


Put some cream in the cup or mug and place the cone on top. Use the brush to clean out the lid and also do this when the grinder is empty - this is important as any coffee left will go rancid and spoil future grinds.
When you see the first whiffs of steam coming from the kettle the water is hot enough. Pour a little into the filter to warm the grind.


When the water drips through add enough water to cover the grind. When this has almost dripped through wash down the sides with more water. Keep monitoring the level in the cup or mug to avoid overflow.
    I don’t advocate adding sugar, because it masks the full flavour of the coffee and is not good for your body! If you want a little sweetening add 1/16th tsp, but no more. If you’re used to a lot of sugar, please, please do try to reduce it until you don’t need any at all. It will be much healthier for you and you’ll be amazed how much better everything tastes without sugar. Sugar is a preservative and should be used very, very judiciously. The reliance on sugar has been encouraged by the food industry, which adds sugar to everything and this does not allow your palate to mature. If you find that the coffee is too acidic, even made this way, you can add about 10 grains of salt to the grind in the cone before you add water. This is much better for you than any amount of sugar. 

Sunday, August 10, 2014

Grano's scrambled eggs


    My grandmother’s scrambled eggs were tender, creamy delicious and heavenly! When I speak of scrambled eggs I don’t mean the rubbery, coarse concoction made in a frying pan and usually served as scrambled eggs in the US. Other than this egg preparation in the US is excellent.
    My Grano taught me how to make them. She always emphasised the need to take time stirring so as to break up the curds and avoid toughness. Low heat and patience are the main ingredients. She used a wooden spoon, but I now use a silicone spatula and find it an improvement as very little egg adheres to it and it does a fine job of scraping the eggs from the pan. 


I also like to use a pan with a non stick coating which will keep virtually all the egg from sticking to the pan.


Ingredients


2 eggs
2 slices rye bread, buttered on one side
1 tsp butter
1 1/2 Tbsp heavy cream
Pinch of salt
Freshly ground black pepper 

Finely chopped chives and parsley - optional

Method


Put the frying pan and saucepan over a low flame to heat while you butter the bread and beat the eggs in a small bowl. Now
put the bread butter side down in the frying pan and put 1 tsp of butter into the saucepan. Raise the heat a little under the frying pan. Smear the melting butter all over the bottom of the saucepan and up to about a 1/2” around the sides. When all the butter has melted add the 1 1/2 Tbsp cream. As soon as the cream bubbles add the beaten egg, make sure the flame is low and start stirring. While you stir watch the bread in the pan and turn it when it browns on one side.

       
Keep gently stirring and folding the eggs. Curds will form and you want to keep these broken and small so keep scraping the bottom and sides and stirring in the curds. (Now you can add a tiny pinch of salt, if you like.) 


Do not let the mixture dry out, it needs to be nice and creamy! As soon as it is mainly curds remove it from the heat.


Now you need to be quick!!! Put the fried bread on a plate. Give the egg one last stir, scrape it from the bottom and sides and divide it between the slices of fried bread. Add a tiny pinch of salt, if you like and a nice grind of black pepper. If you feel adventurous you can add a few chopped chives and some chopped parsley!


Do not leave any time between serving and eating. Eggs can become quite unpalatable when left to cool on the plate.

Sunday, July 27, 2014

Chips or French fries


Cooking chips, as they are called in Ireland and other English speaking places, or French fries as they are called in America, is not too difficult. Many people are frightened by the hot oil! If you are careful and don’t take any chances with it, it’s really quite straight forward. One safety precaution is to make sure you have an extinguisher in your kitchen - I’ve had one for more than twenty years and have never had to use it, even though I make chips or French fries quite often. Safety first: NEVER, EVER leave the oil over the flame unsupervised! Monitor it all the time while you’re using it. Watch it carefully! Should you, God forbid, have a fire and no extinguisher, do NOT throw water or a towel on it. Turn off the burner and quench the flames with a pan lid. Remain calm - do not panic! If there is flame on the stove quench this with some baking soda. Until you feel confident keep a lid and some baking soda handy! Keep your eye on the hot oil at all times while cooking and you shouldn't run into any problems.

For very crisp fries: peel the potato first; after chipping soak in cold water for an hour and carefully drain to eliminate the potato starch. Dry completely before placing in the basket. I never do this and am still pleased with the results. If you are careful to slice the potato along the long side you will only have skin at either end and on a few of the outer pieces. The skin makes fries/chips soggy as does oil that is not hot enough! Immersing the potatoes three times in the hot oil is the key to great fries/chips.
 

I like to use Yukon gold potatoes, but others prefer plain white or red potatoes. Experiment and decide which is your favourite. I usually use one large potato and leave on the skin. Most of the nutrition in a potato is just under the skin, the rest is mainly empty carbohydrate, so it’s nutritionally best to use the whole, unpeeled potato. This recipe will serve 1 - 2 people.
 

You will need a deep 3 quart saucepan and a basket that fits neatly into the saucepan. A basket is highly recommended when making fries/chips. Without a basket, it takes too much time to slowly scoop the potatoes out of the fat, which results in an uneven fry.


Method:
Put the pan with the oil over a high flame while you prepare the potato. N.B.: Keep a careful eye on the oil as it heats! Move it aside if it comes to temperature before you’ve finished preparing the potato! The oil will be ready when you can see a lot of waves in it and a little smoke rising from it.


Wash the potato and cut out any dark bits. Dry and place the potato on a cutting board and slice away a thin slice along one of the longer sides.


Turn the potato onto the flat side and cut thin slices along the long side


Line up the slices in a stack and lay them horizontally. Slice through the stack to create thin, long fries/chips. This is a little tricky: do not press down too hard as you slice or the pieces will slide apart! Make sure your knife is sharp and slide it gently across the stack, pressing just enough to pass through the potato. I often remove the top piece with skin to make it easier to cut the potato, then slice that piece on its own when the stack is cut.


Place the fries/chips into the frying basket. Make sure none are stuck together so that all the hot fat can surround each piece. 


When the oil shows waves and begins to smoke, carefully lower the basket of fries into the hot oil. It will bubble and rise up around your potato slices/chips. While the frying is progressing, lay out some paper towels.


Allow the potato to fry for about 3 minutes until the slices/chips look translucent and slightly brown around the edges. Raise the basket slightly above the hot oil to check the appearance of the fries/chips. When ready remove the basket and place it on the paper towels.


Reheat the oil until it’s wavy and smoky again. Carefully lower the fries back into the oil and allow them to fry until they become more brown around the edges - about 2 minutes. Monitor the progress as described above. Remove the basket and place on the towels again. 


Reheat the oil a third time until it’s wavy and slightly smoky again. Carefully lower the basket into the hot oil  and allow to fry for another 3 minutes or until the fries are nice and brown. While they are frying you can make some aioli, if you like it.


Aioli: put a tablespoon of mayonnaise in a small container, add 1/4 tsp chopped garlic, some salt and pepper to taste and, if you like, some chili powder. Mix these well with a fork.


Once the potatoes are brown, remove the basket from the oil and place it on the paper towels again. Move the pan with the hot oil from the burner and turn off the heat.

Immediately sprinkle salt and pepper over the fries in the basket and toss them to coat evenly. Transfer to a plate, taste to check seasoning and add more salt and pepper if desired. Place the dish of aioli on the plate and add a dish of ketchup if you like. In Belgium they always serve mayonnaise with French fries and not ketchup. I like both as well as aioli, which is only fancy mayonnaise!


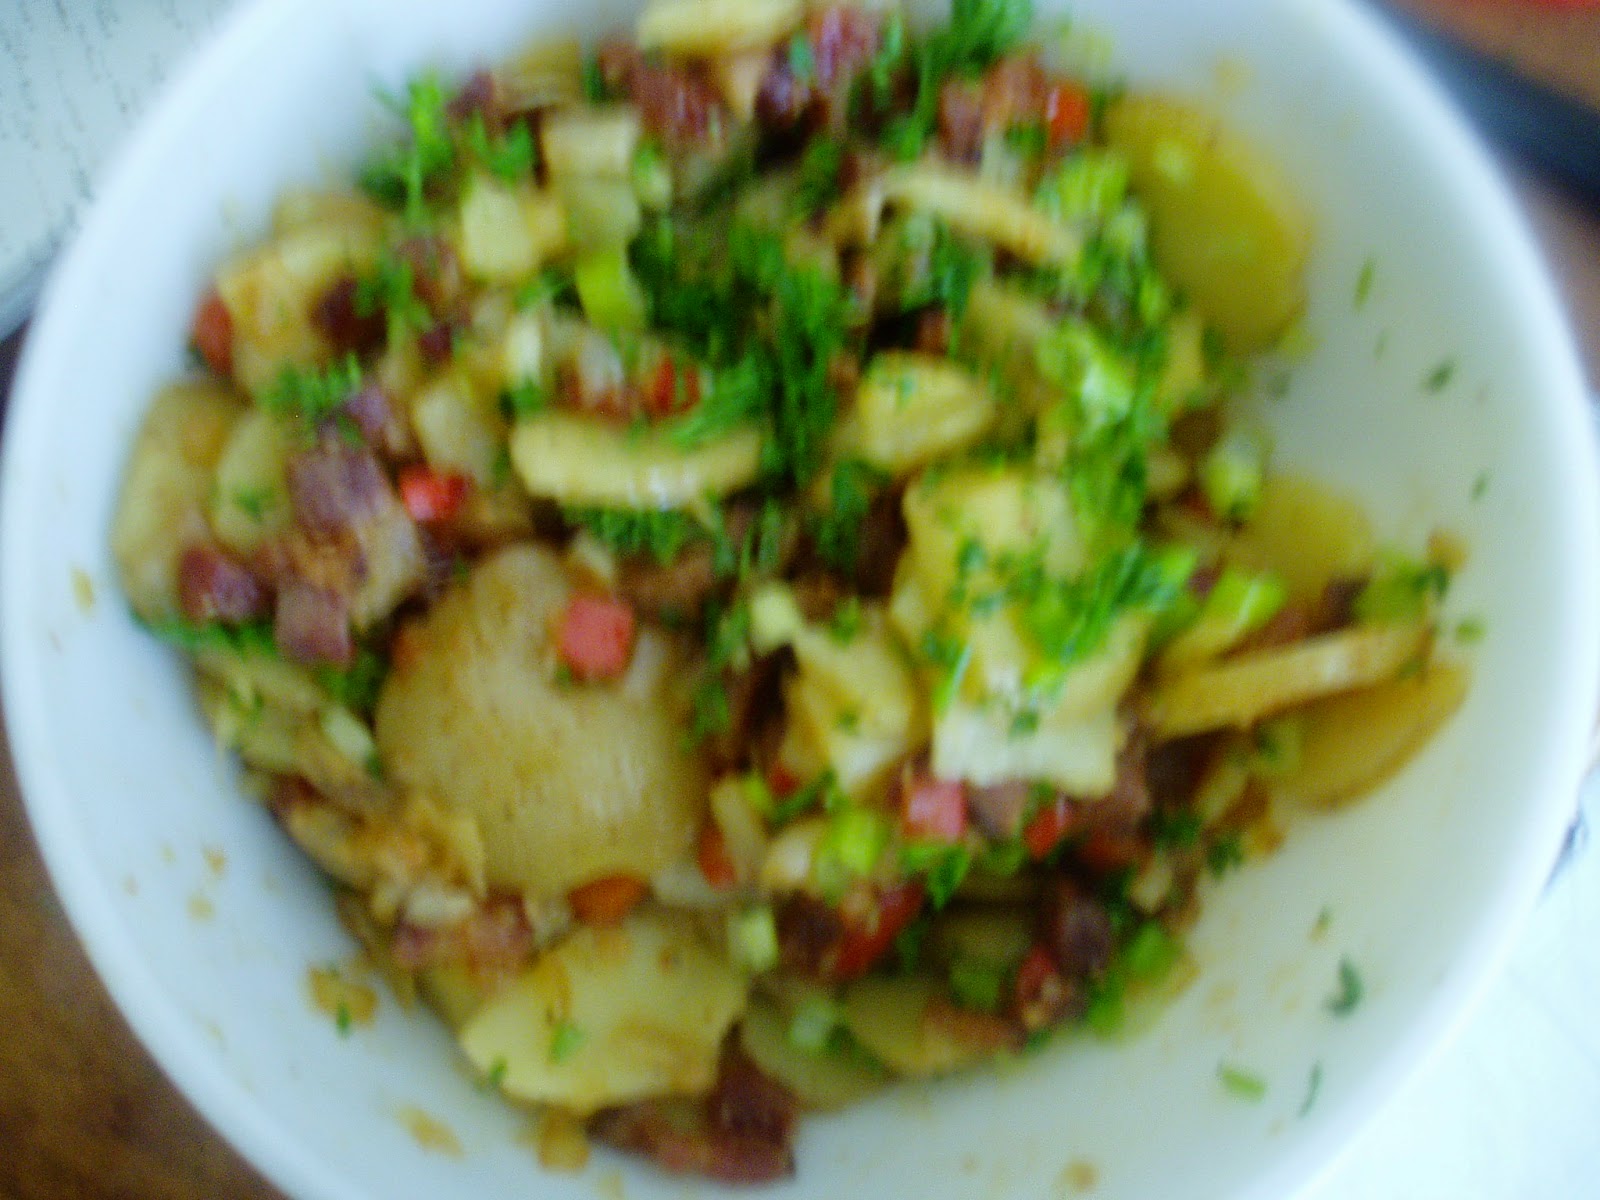
Ilse's German Potato Salad


Germans wouldn’t necessarily accept this as German potato salad. It is the salad I’ve developed over the years, influenced by the potato salad I first learned to make when I was in Germany. I like it very much! My friend, Lupe, likes it so much she uses it as a potato side dish for breakfast. It just goes to show that when you take a recipe from one part of the world to another it can be reused in a different way than is usual. I love this about food and the way it can be reinvented. I don’t think it really matters as long as it’s enjoyed. The first time I offered this to Lupe she couldn’t stop eating it and that is what matters. This recipe will serve between 2 and 4 people depending on how hungry they are and what else you serve with it.

Ingredients
12 or 14 small, 2” diameter, potatoes
6 slices of thick, meaty bacon
1/4 of a large onion
1/4 red bell pepper
1 tsp garlic
1 Tbsp evoo
Salt & pepper to taste
3 tsps vinegar
1 tsp brown sugar
some chile powder (optional)
2 Tbsp chopped parsley
2 Tbsp chopped green onions

Wash the potatoes and cut away any brown, unsightly areas.


Slice the potatoes into 1/8” to 1/4” slices. To do this cut a thin slice off one end and stand the potato on the flat end. Then slice down carefully until the whole potato is sliced.


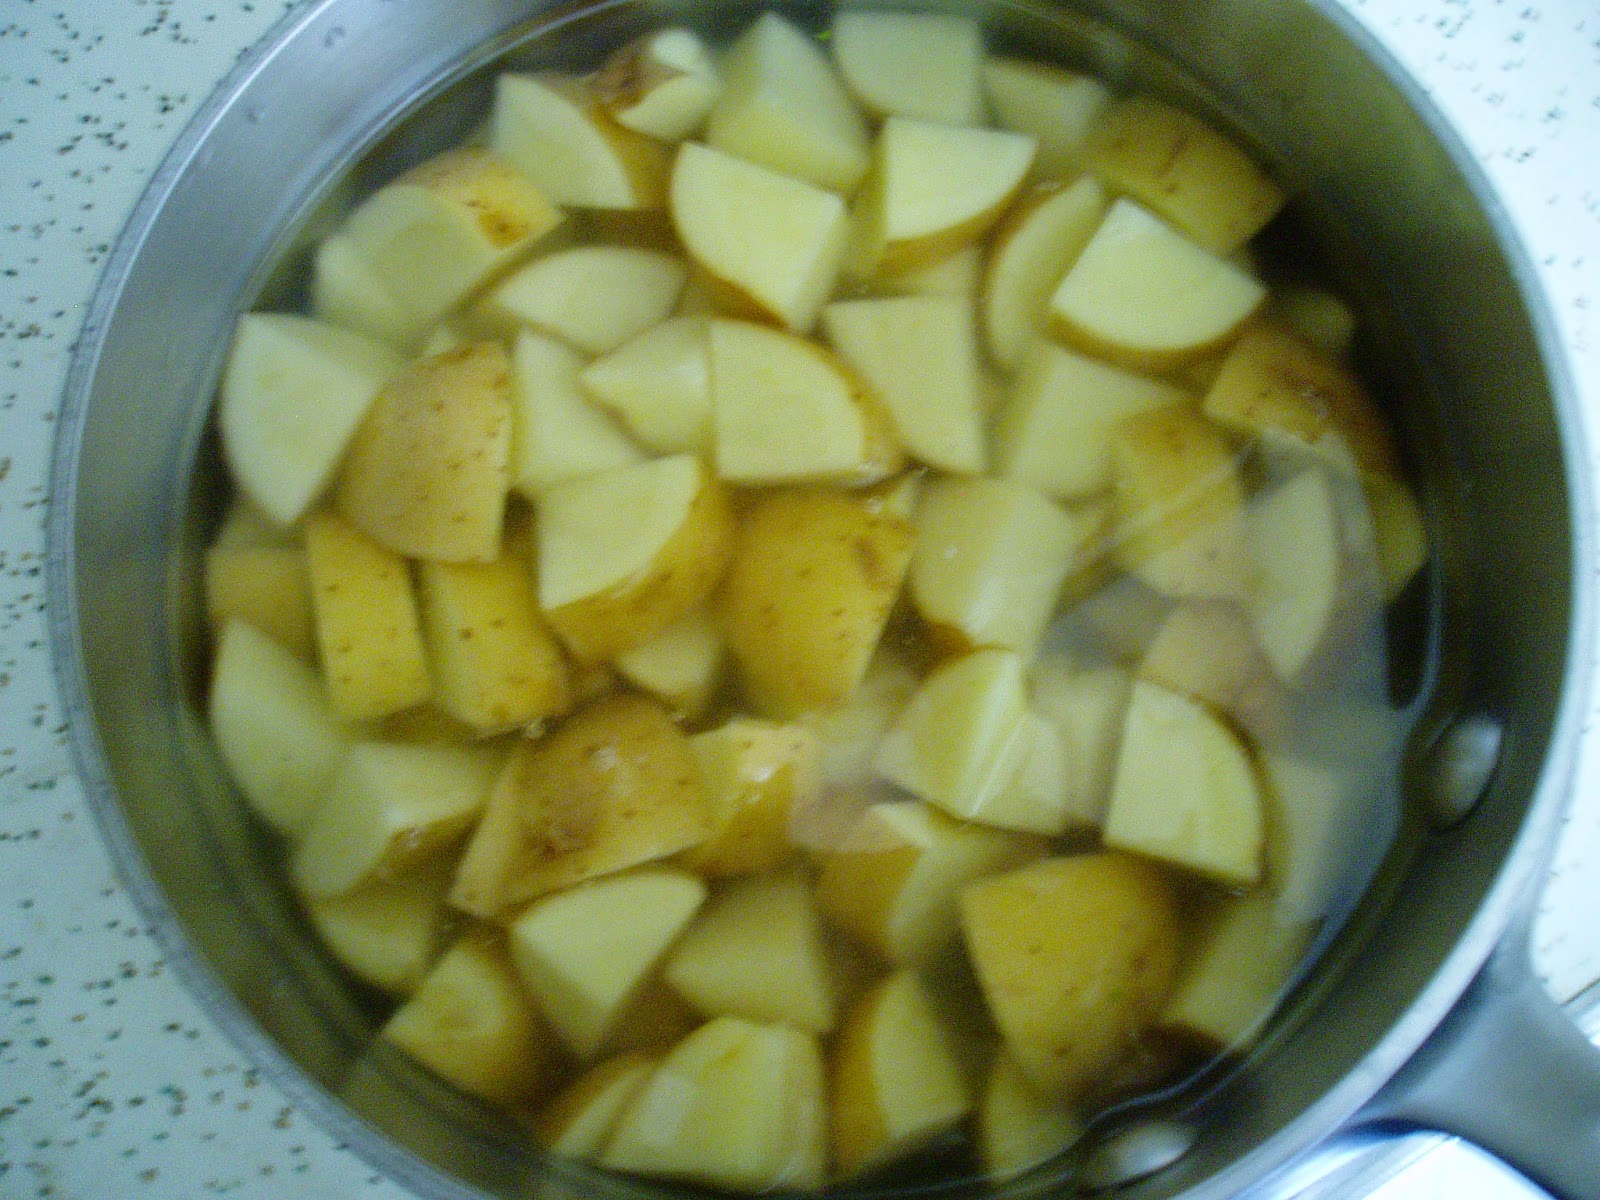
Place the slices in a 2 1/2 quart saucepan and cover with water. 


Bring to a boil over a high flame, reduce flame and allow to boil for about 4 minutes or until a sharp knife slides in easily and the slices are cooked.
Strain into a colander over a bowl. Set aside to cool.


While the potatoes are cooling slice the bacon into 1/4” pieces.


Put the bacon into a frying pan and fry until brown and crisp.


While the bacon is frying chop the onion and red bell pepper into 1/4” cubes.


Put the cooked potato slices into a bowl


Once the bacon is nice and brown and crisp, scoop it out of the pan, leaving the fat behind. Add the bacon to the potatoes.


Decant most of the fat keeping about 1 Tbsp in the pan and add the chopped onions and red bell pepper to the fat. Let fry for four minutes until the onions are translucent and the peppers begin to cook.


Add the garlic. Cook for another two minutes. When you can smell the garlic add the evoo. Cook for another two minutes. Add the vinegar and brown sugar, cook for another two minutes. Pour the mixture over the potatoes. Add salt and pepper and chile powder. Mix gently but well until all the potato slices are well coated. Taste and add more salt and vinegar if liked. Set aside.


Chop parsley and green onions.


Add parsley and green onions to potato mixture and stir in gently. Taste again for salt and add more if desired.


If you like you can, while the potatoes are still hot,  add  and mix in all the other ingredients except the parsley and chopped green onions. The potatoes will fall apart and result in a more homogeneous mixture similar to mashed potatoes. Once the potatoes are mixed add and fold in the parsley and chopped onions. Try it both ways and see what you think. You can also choose to add cooked peas, beans, grated carrots or diced hard boiled eggs, if you like. You may need to adjust the salt, pepper and vinegar when you add other ingredients.